How to use Sittr
A simple guide, from your first sign-in to your first booking.
1. Signing up and signing in
Everyone uses their own account, whether you're a parent or a sitter.
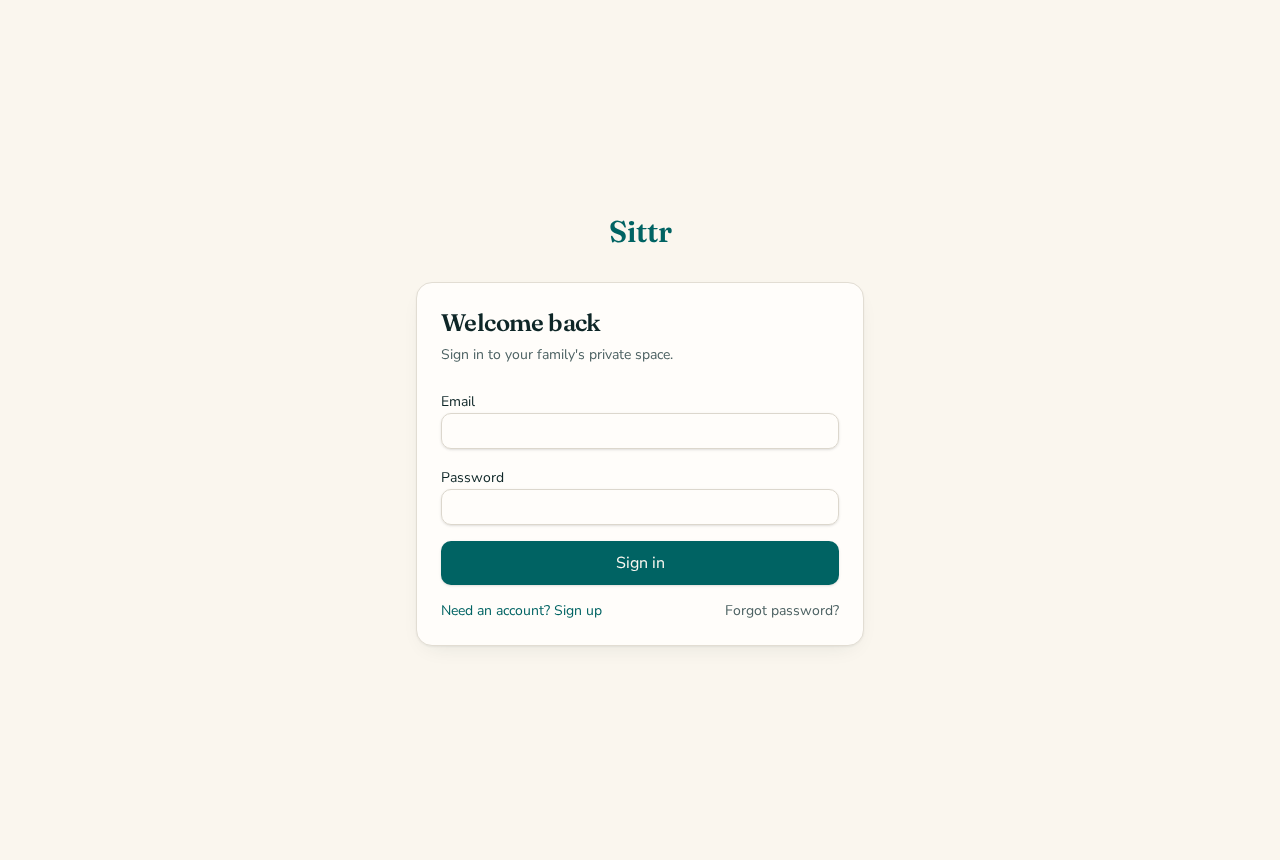
- Open Sittr and tap "Need an account? Sign up".
- Type your name, email and a password, then tap Sign up.
- Check your email and tap the link to confirm your address.
- Come back and sign in with your email and password.
Good to know
- Sittr remembers you on your device, so next time you go straight to your family home page.
- Forgot your password? Tap "Forgot password?" and we'll email you a link to set a new one.
- On a phone, use your browser's "Add to Home Screen" option to install Sittr like an app.
2. Creating your family
Your family space is private. Only the people you invite can see it.
- After your first sign-in, choose "Start a family workspace" and give your family a name, like "The Smith Family".
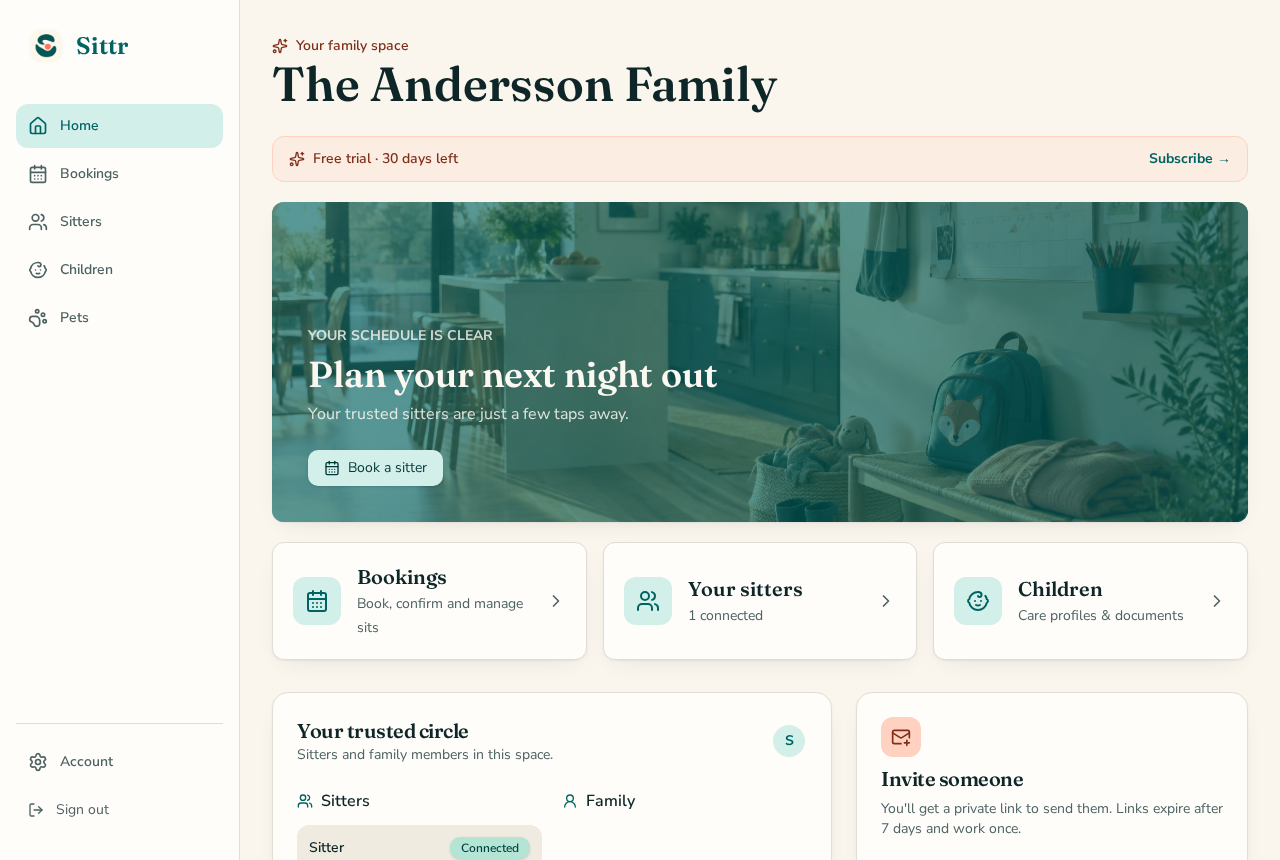
- You land on your family home page. This shows upcoming sits, your sitters and quick shortcuts.
Good to know
- Your first 30 days are free, with no card needed. The countdown appears at the top of the home page.
3. Adding family members
Invite a partner, grandparent or anyone who helps run the household.
- On the home page, find the "Invite someone" card.
- Choose "Family member" and type their email.
- Pick what they can do: Admin (everything, including billing), Member (can book and edit) or Viewer (can look but not change anything).
- Tap to create the invite, then send them the private link. Links work once and expire after 7 days.
Good to know
- Admins can remove members at any time. The family owner can't be removed.
4. Adding your children
Keep each child's important information in one place.
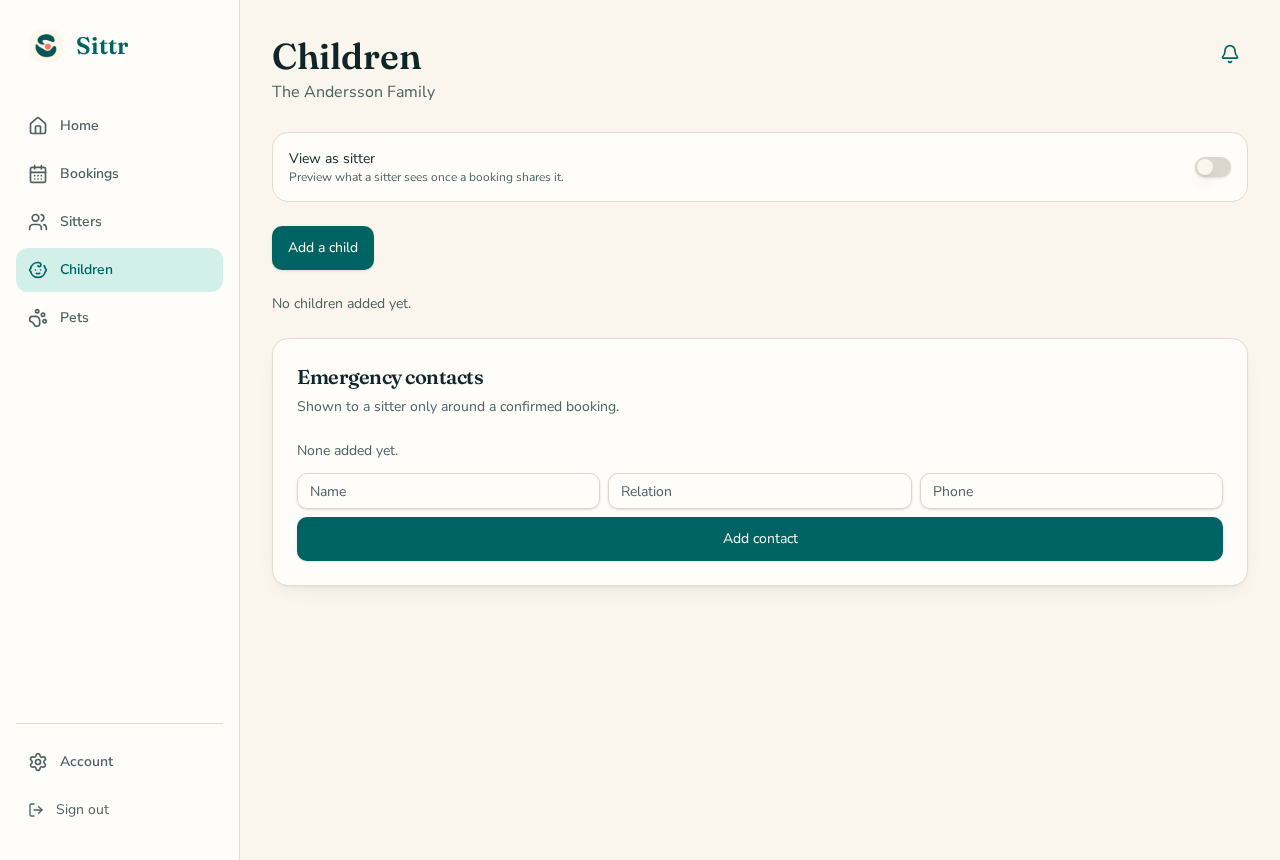
- Tap Children in the menu.
- Tap to add a child and type their name and birthday.
- Fill in allergies, medical notes and routines (like bedtime or meals).
- Tap "Add file" to upload a photo, an allergy care sheet or a routine document.
Good to know
- Sitters only see these details after they accept a sit, and only until a day after it ends.
- The private notes box is for your family only. Sitters never see it.
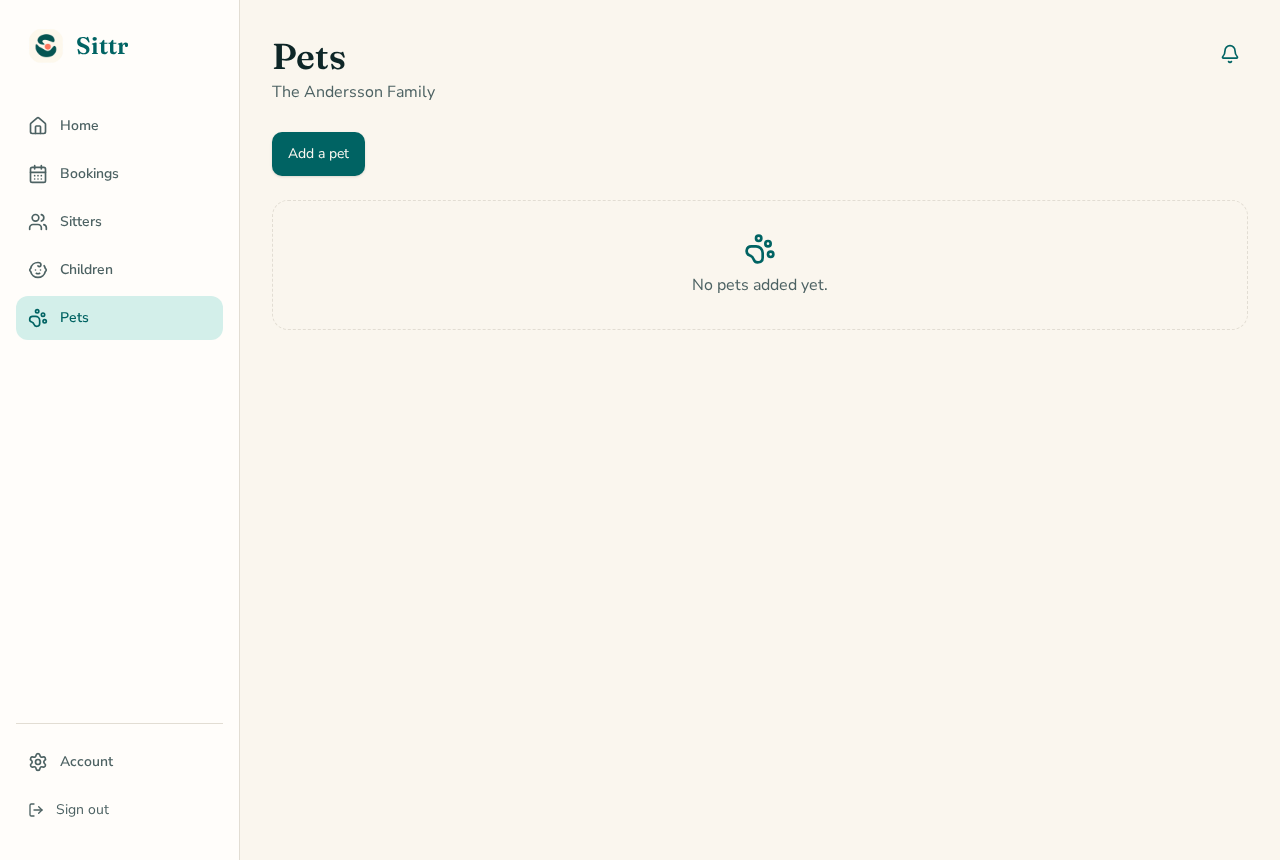
5. Adding your pets
Pets get their own care cards too.
- Tap Pets in the menu.
- Add a pet's name, type (dog, cat and so on), breed and birthday.
- Write down food, medications, walks and routines, and your vet's details.
- Tap "Add file" to upload a pet photo or vet records.
Good to know
- Like children's details, pet care info is only shared with a sitter who has accepted a sit.
6. Adding your sitters
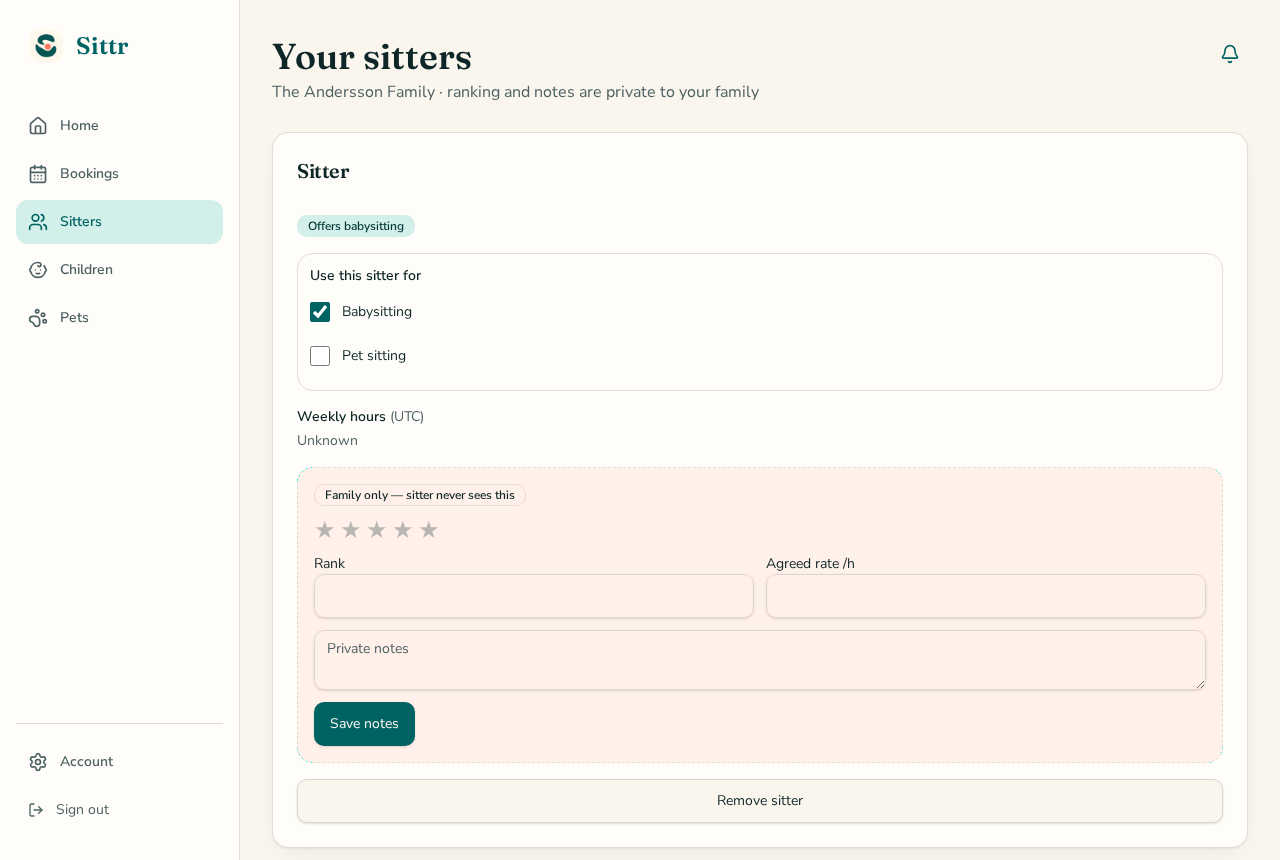
Sittr is for sitters you already know and trust. There's no public list of strangers.
- On the home page, use "Invite someone" and choose Sitter. Type their email and send them the link.
- Once they join, they appear on your Sitters page.
- Tick whether you use them for babysitting, pet sitting or both.
- Add your own private star rating, ranking, notes and agreed rate. Only your family sees these.
Good to know
- Each sitter card shows when they're free or busy, without revealing their other families.
7. Booking a sitter
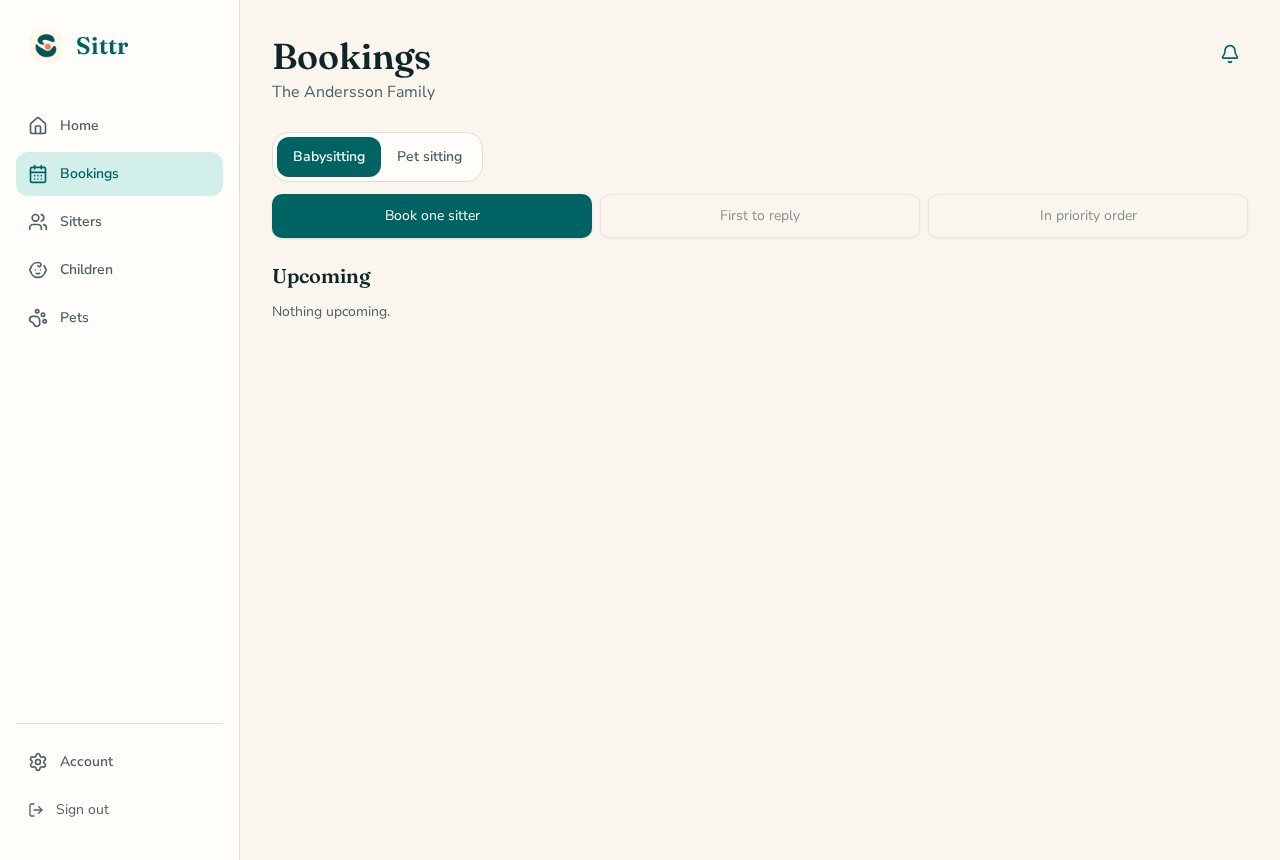
Choose Babysitting or Pet sitting at the top, then pick how you want to book.
- Book one sitter: send the offer to one person.
- First to reply: send it to several sitters at once. The first to accept gets it.
- In priority order: Sittr asks your favourite first, then the next if they don't reply in time.
- Pick the date and times, the children or pets, the place, any duties and the pay.
- Set a "reply by" time and send.
8. Confirming a booking
Bookings happen in two steps so nobody gets surprised.
- The sitter accepts. Their time is held for you.
- You get a notification (the bell icon). Tap Confirm within 60 minutes to lock it in.
- If you don't confirm in time, the hold ends. With a priority list, Sittr moves on to the next sitter.
Good to know
- Need to change something? Use "Propose change". The original plan stays until the other side approves.
- Each upcoming booking has a messages button to chat with your sitter.
- You can cancel with a reason. It stays in your booking history.
9. For sitters
Sitters use Sittr free, and can work for many families.
- After signing up, choose "I'm a sitter" and fill in your profile: babysitting, pet sitting or both, your rates and the pets you take.
- Set your weekly hours and block off times you're away on the Availability page.
- New offers show on your Bookings page with a countdown. Tap Accept or Decline.
- Turn on text alerts on your home page if you'd like a text message for new offers.
10. Your account and billing
Tap Account in the menu to manage your settings.
- Change your name and profile photo.
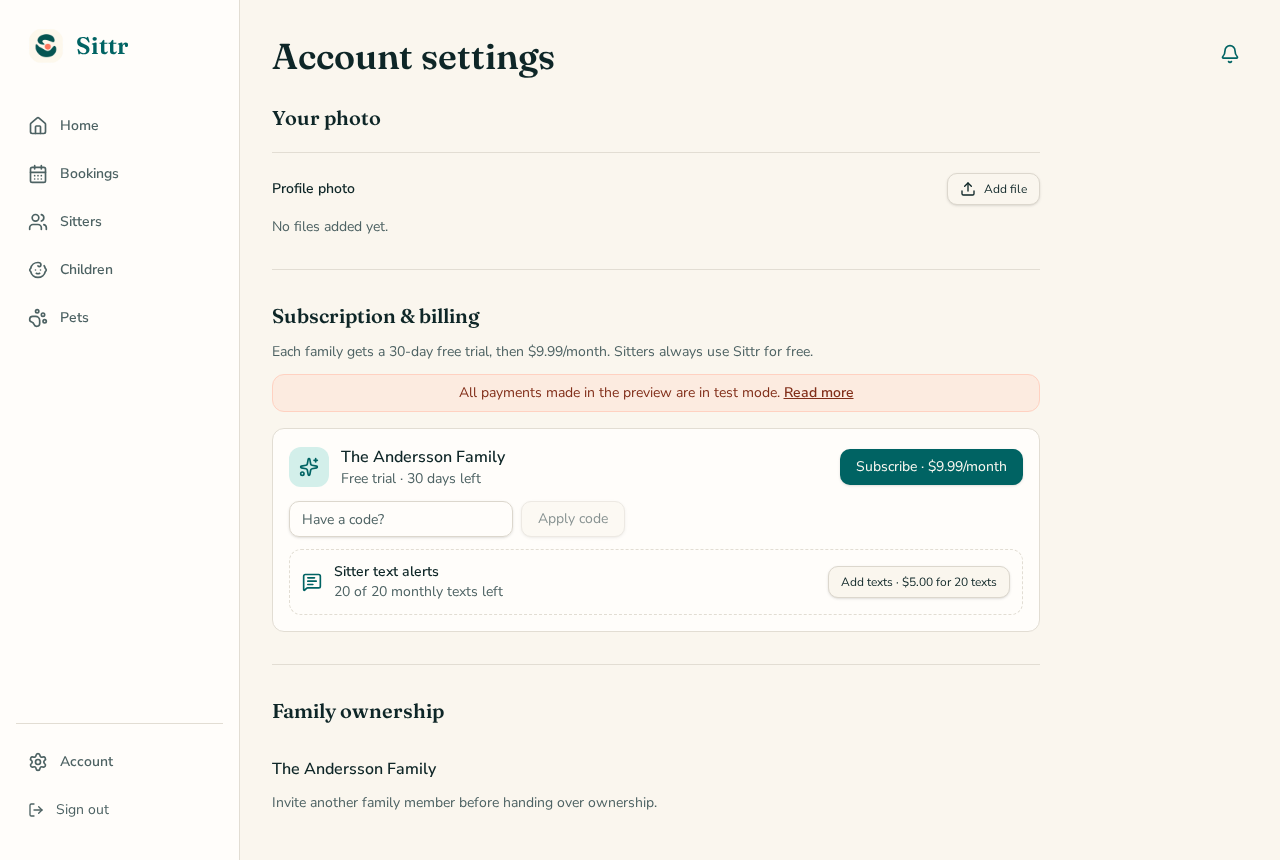
- Admins can subscribe for $9.99 a month, update a card, or cancel under "Subscription & billing".
- Have a code? Type it into "Have a code?" to unlock free access.
- Each family gets 20 sitter text alerts a month. Admins can buy 20 more for $5.00.
- The family owner can hand over ownership to another member. You can also delete your account here.